Monitoring the verbose output in the debug window in the Arduino 1.8.12 IDE, we see:
C:\Users\name\AppData\Local\Arduino15\packages\esp8266\tools\python3\3.7.2-post1/python3 C:\Users\name\AppData\Local\Arduino15\packages\esp8266\hardware\esp8266\2.7.0/tools/upload.py --chip esp8266 --port COM4 --baud 115200 --before default_reset --after hard_reset write_flash 0x0 mqTrainsIO_xxx.bin
esptool.py v2.8
Serial port COM4
Connecting......_
Enable verbose output with Settings (Ctrl+Comma). File -> Preferences -> Show verbose output during: [ x ] compilation [ x ] upload
So, if we do this in Linux or on a Mac or Raspberry Pi:
All we need issudo apt-get update
sudo apt-get install python python-pip
sudo pip install esptool
And then
esptool.py --chip esp8266 --port /dev/ ttyUSB0 --baud 460800 --before default_reset --after hard_reset write_flash 0x0 mqTrains_ServoPCA_1.0_1MB.bin
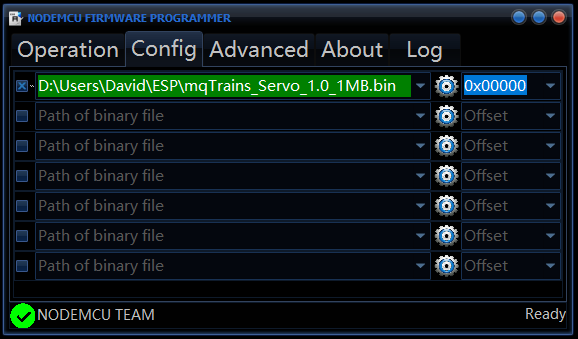
For the Windows kind, there is a Nodemcu-Flasher tool here in a 32 and 64 bit version which you can specify the bin file on the Config tab:
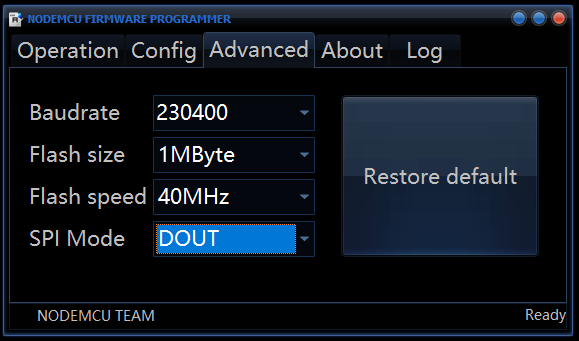
Set the appropriate Flash Size, Flash speed and SPI Mode on the Advanced tab:
And then head back to the Operation tab and a click “Flash(F)”:
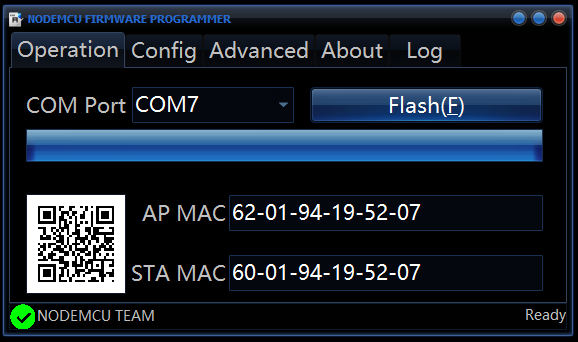
Of course, the Windows device driver needs to be in place for the USB programmer you are using (COM7 shown here).
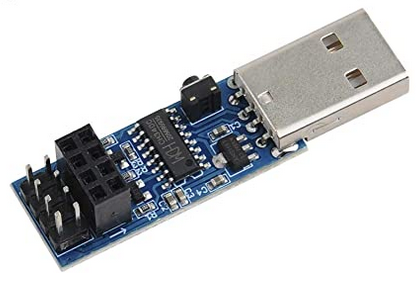
We also recommend using this little DYI Mall programmer which avoids the slide switch at power up to be in program mode, but instead gives you a reset button and the same 8 pins on the ESP-01 to connect to the next i2c board: